Listed here in the next paragraph you can get a lot of excellent facts in relation to How to Install a Bathtub.
Installing a bath tub isn't specifically brain surgery, yet it does need solid plumbing, carpentry, and also in some cases, tiling skills. Replacing an old tub with a new one is additionally a reasonably tough job. If the old bathtub is easily easily accessible, the project can relocate easily; if you have to open a wall to remove the old tub and also position the brand-new bath tub, the task is much harder. In either situation, the task is within a residence handyman's abilities, although you will certainly require an assistant to move out the old tub and set in the brand-new one. Ensure you have certified on your own for the task and also fit attempting it. Instead of working with a professional to take control of a halfway-completed job, it is better to think about utilizing one prior to you start. Opportunities are you might require an expert plumber to make tube connections.
This article will help you set up a brand-new bathtub in your washroom if you have actually currently gotten a new bathtub and also don't need to alter the arrangement of your previous supply of water pipes.
Your tools and also material checklist need to comprise the following:
Planning for the Installation
To start with, the sustaining frame provided with the bath ought to be fitted (if needed) according to the supplier's directions. Next off, fit the taps or mixer to the bath tub. When suitable the faucet block, it is necessary to make sure that if the faucet features a plastic washer, it is fitted in between the bathroom as well as the faucets. On a plastic bathroom, it is additionally practical to fit a sustaining plate under the faucets system to avoid stress on the tub.
Fit the adaptable tap adapters to the bottom of both faucets making use of 2 nuts and olives (in some cases provided with the tub). Fit the plug-hole outlet by smearing mastic filler round the sink electrical outlet hole, and then pass the electrical outlet with the hole in the bath. Make use of the nut supplied by the producer to fit the plug-hole. Analyze the plug-hole electrical outlet for an inlet on the side for the overflow pipeline.
Next off, fit completion of the adaptable overflow pipeline to the overflow electrical outlet. Afterwards, screw the pipeline to the overflow face which should be fitted inside the bath. Make certain you use all of the supplied washers.
Attach the catch to the bottom of the waste electrical outlet on the tub by winding the thread of the waste outlet with silicone mastic or PTFE tape, as well as screw on the trap to the outlet. Attach the bottom of the overflow tube in a similar manner.The bath should now be ready to be suited its last setting.
Removing Old Taps
If you require to change old faucets with brand-new ones as a part of your setup, after that the first thing you should do is detach the water supply. After doing so, activate the taps to drain pipes any kind of water remaining in the system. The process of eliminating the existing taps can be fairly bothersome as a result of the limited gain access to that is commonly the instance.
Make use of a container wrench (crowsfoot spanner) or a faucet tool to reverse the nut that attaches the supply pipes to the taps. Have a cloth all set for the staying water that will certainly come from the pipelines. When the supply pipelines have been eliminated, utilize the very same tool to loosen up the nut that holds the faucets onto the bath/basin. You will certainly require to quit the solitary taps from turning throughout this process. As soon as the faucets have been removed, the holes in the bath/basin will need to be cleansed of any type of old sealing compound.
Before carrying on to fit the brand-new taps, compare the pipe connections on the old faucets to the brand-new faucets. If the old faucets are longer than the new taps, after that a shank adapter is needed for the brand-new taps to fit.
Mounting the Bath tub
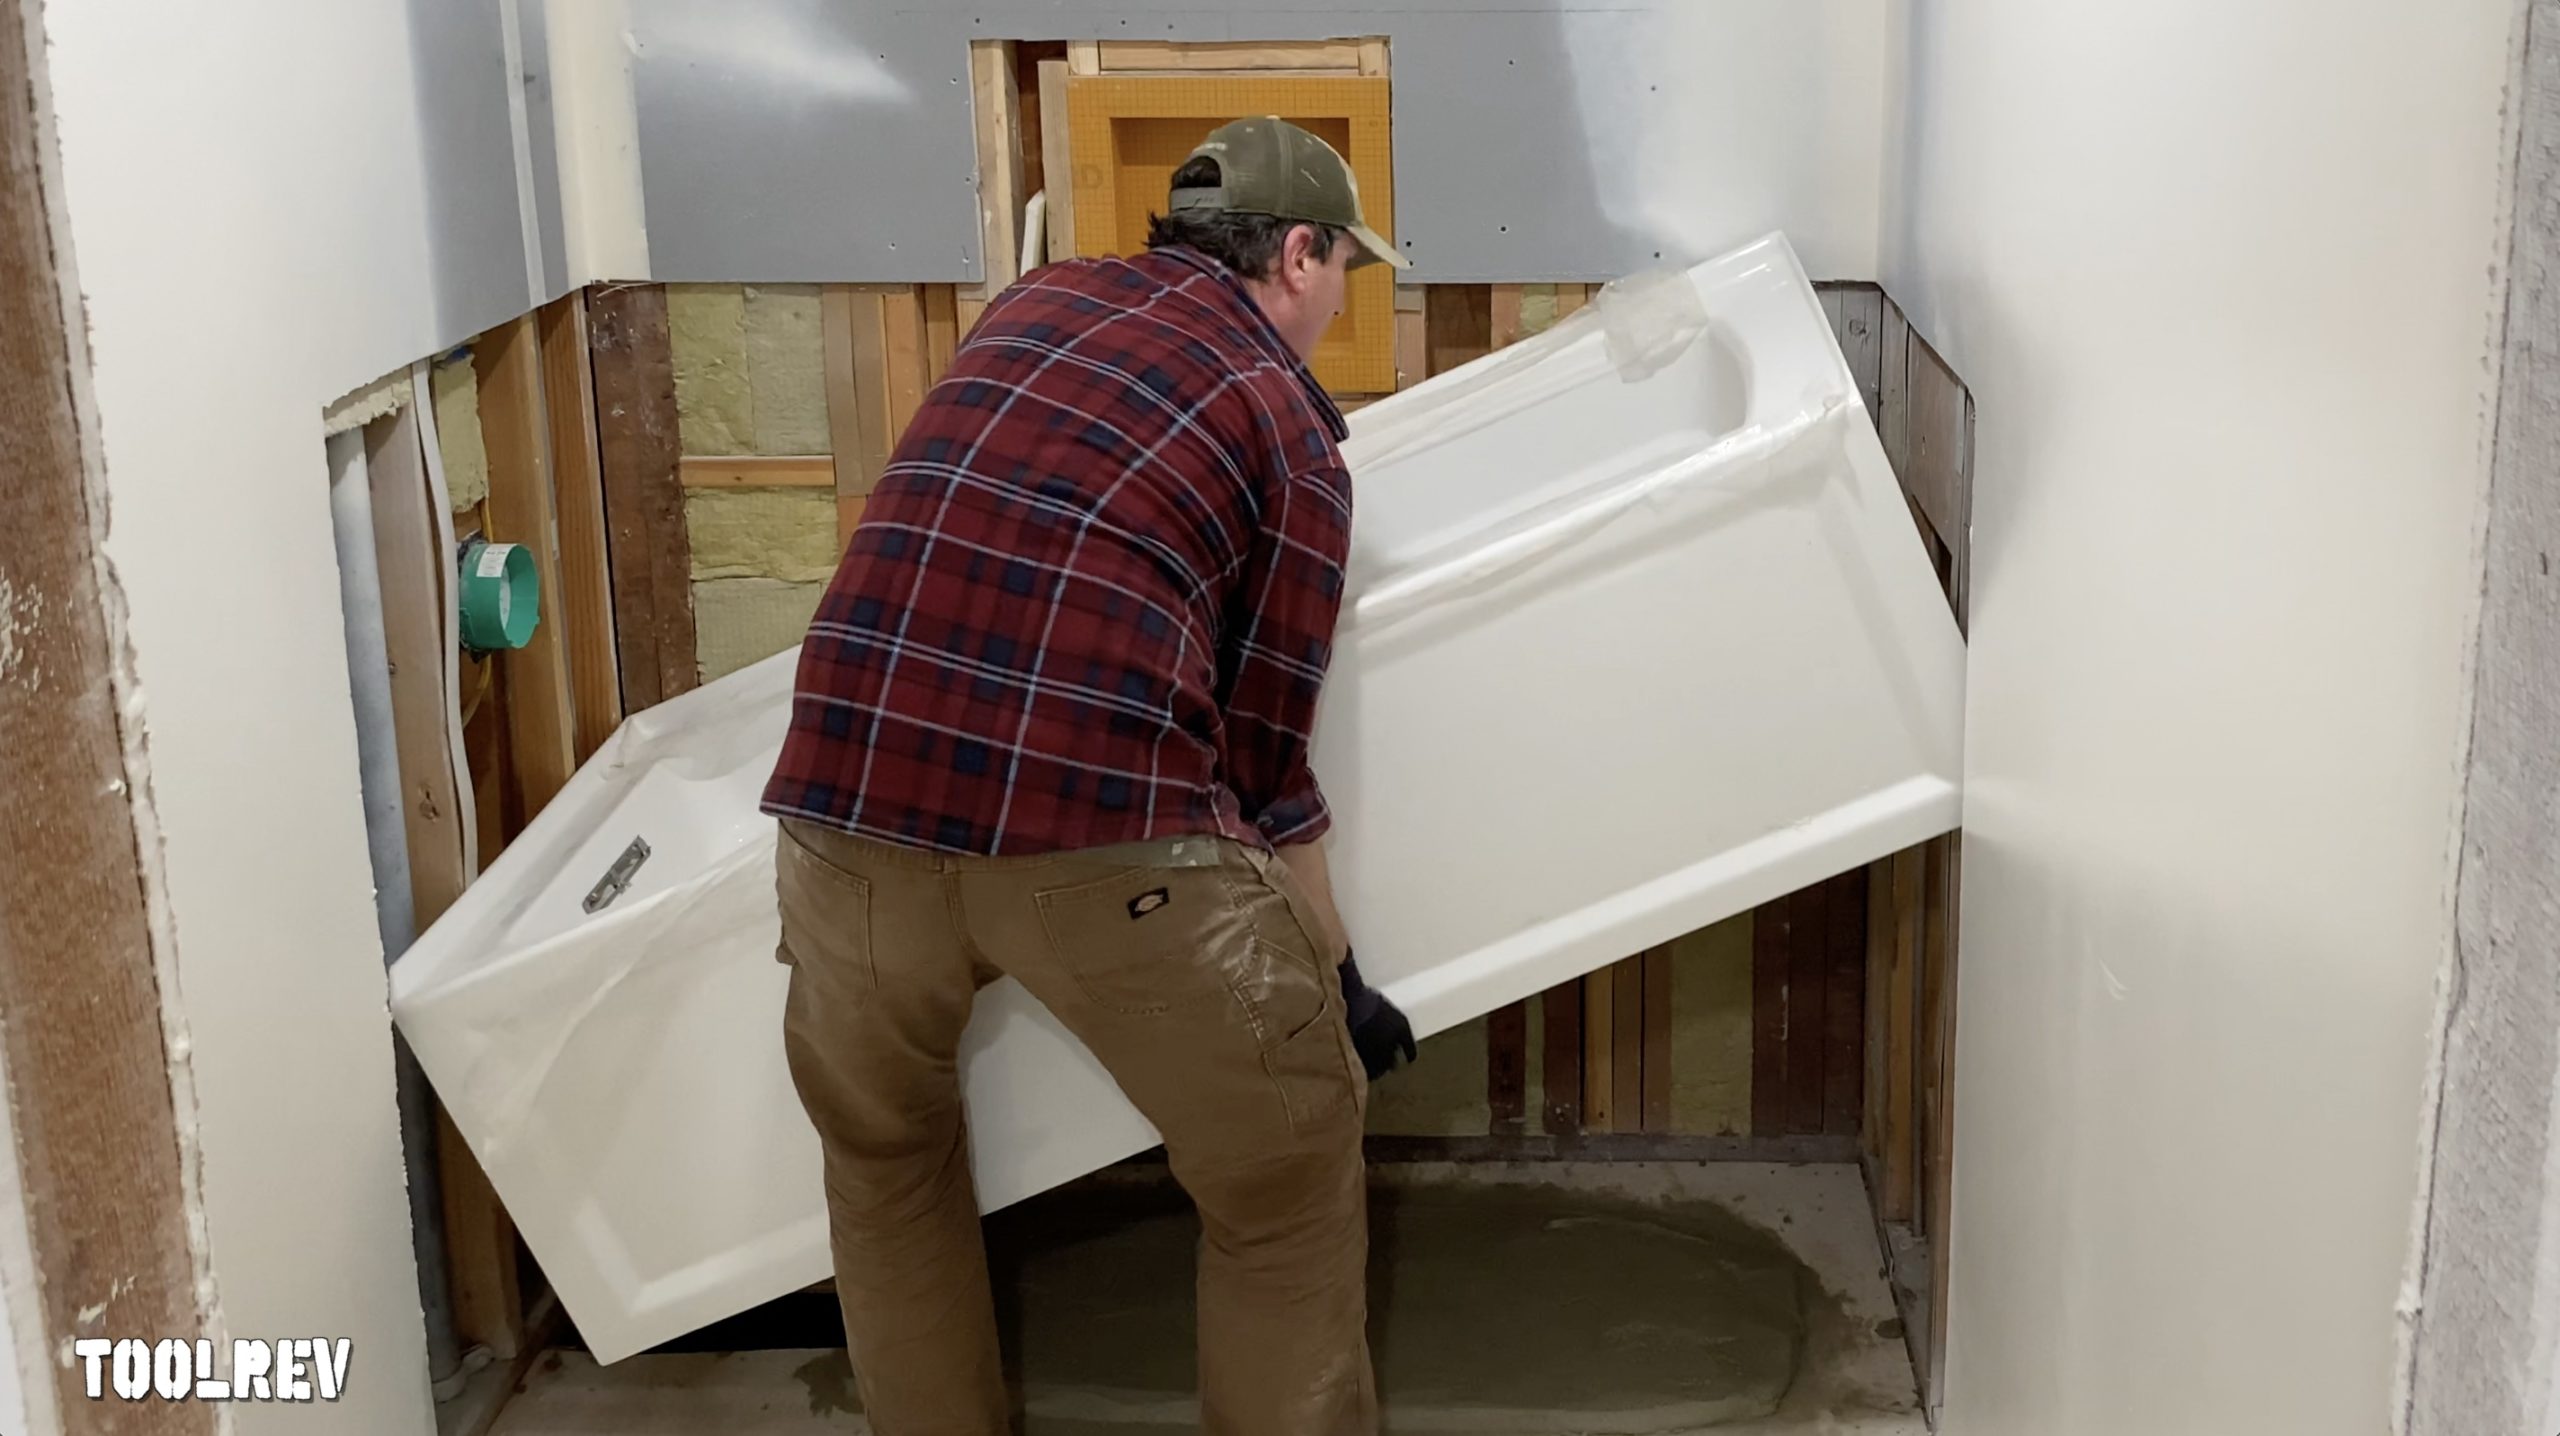
Making use of both wood boards under its feet, position the bathtub in the needed setting. The wood boards are valuable in evenly spreading the weight of the bath tub over the area of the boards as opposed to concentrating all the weight onto four tiny factors.
The following objective is to make certain that the bath tub is leveled all round. This can be attained by checking the level and changing the feet on the bath tub until the spirit level reads level.
To install taps, fit the bottom of the furthest versatile tap port to the appropriate supply pipeline by making a compression join; then do the very same for the other faucet.
Switch on the water system and also examine all joints and new pipework for leaks and also tighten them if required. Fill up the bath tub as well as likewise inspect the overflow electrical outlet and the regular outlet for leakages.
Lastly, fix the bath paneling as explained in the producer's user's manual. Tiling as well as securing around the bathtub ought to wait until the bath tub has actually been made use of a minimum of when as this will certainly settle it into its final placement.
Suitable New Taps
If the tails of the new faucets are plastic, after that you will need a plastic adapter to stop damages to the string. One end of the adapter fits on the plastic tail of the faucet as well as the other end offers a link to the existent supply pipes.
If you need to fit a monobloc, then you will certainly need reducing couplers, which connects the 10mm pipeline of the monobloc to the common 15mm supply pipeline.
Next off, place the faucet in the installing opening in the bath/basin ensuring that the washers remain in place between the faucet and also the sink. Protect the faucet in position with the manufacturer provided backnut. As soon as the tap is firmly in position, the supply pipelines can be linked to the tails of the faucets. The taps can either be connected by using corrugated copper piping or with normal tap adapters. The former kind must be attached to the faucet ends first, tightening just by hand. The supply pipes can later on be linked to the various other end. Tighten both ends with a spanner after both ends have been linked.
Tiling Around the Bath tub
In the location where the bathroom satisfies the ceramic tile, it is essential to seal the accompanies a silicone rubber caulking. This is important as the fitting can move enough to fracture an inflexible seal, causing the water to penetrate the wall between the bath and the tiling, causing problems with moisture and also feasible leakages to the ceiling listed below.
You can select from a range of coloured sealants to blend in your fixtures as well as fittings. They are marketed in tubes and cartridges, as well as can sealing voids up to a width of 3mm (1/8 inch). If you have a larger space to fill up, you can fill it with spins of drenched newspaper or soft rope. Remember to constantly fill the tub with water before securing, to allow for the movement experienced when the tub is in use. The sealant can fracture fairly early if you do not think about this movement before sealing.
Alternatively, ceramic coving or quadrant tiles can be utilized to border the bathroom or shower tray. Plastic strips of coving, which are easy to use and cut to size, are additionally quickly available on the market. It is advisable to fit the ceramic tiles using water-resistant or water-proof sticky as well as cement.
How to Install a Freestanding Bathtub?
Installing a freestanding bathtub or any kind of bathtub is not a difficult task if you have a sophisticated guide on installing a freestanding bathtub in your bathroom. Aside from getting the freestanding bathtub to your bathroom, you can do all the work without paying a plumber. A bathroom with a bathtub is a retreat where you can feel the sensation of coming home and soaking in that hot water. It is a great way to remove all the stress from your day.
This guide will walk you through installing a freestanding bathtub in simple steps and help you find relief.
Slope
Make sure your bathroom has a proper slope. If your floor lacks a slope, the water flow to the drain will not function, which leads to a blocked drain which can cost you money. You can use the level device to see your bathroom's vertical and horizontal aspects. Once you have that information, you must carry out the next step.
Placement
A freestanding bathtub has a unique characteristic that helps you bring elegance to your bathroom. A freestanding bathtub comes in various sizes and shapes suitable for different types of bathrooms.
According to the information you gathered from the level device, you must pick a bathtub that suits your style and fits your bathroom aesthetically. You can place a freestanding bathtub virtually anywhere, such as in the corner, near the wall, or even at the center of your bathroom. However, you must ensure proper plumbing where you want to install the tub. If not, then you must call a plumber.
Clean the bathroom floor
After deciding where to place the bathtub, you must clean the entire bathroom floor so that the dust and debris do not accumulate underneath the tub. Simple cleaning is enough, and you will clean it again after the installation.
Steps to Install a Freestanding Bathtub:
STEP 1: Place the protective blanket in the adjacent area where you want to install the bathtub. It will help you protect the bathtub's sides when you do the installation.
STEP 2: Now, place the 4x4 lumber in the area where you want to install the bathtub. Place the bathtub on top of the lumber, and align the drain line with the bathtub drain.
STEP 3: A freestanding bathtub comes with a drain kit. If not, make sure you purchase one with your bathtub. You can pop that drain kit and align it with your bathroom drain line. Ensure that you tighten the drain nut enough so there is no water leakage. You must also clean the bathtub’s drain to remove the factory dirt and debris.
STEP 4: Clean the drain hole in your bathroom. It helps to do the installation without any water blockage. A drain cleaner or bleach will suffice. Once the drain dries entirely, take a small amount of clear silicon and place it around the underside of the pipe flange.
STEP 5: Attach the drain tailpiece to the bottom of the bathtub. Place the rubber or plastic bushing with the plumbing material at the top of the tailpiece and screw the drain nut up the tube until it tightens both the bathtub’s drain and the drain tailpiece. Now you must add the lubricant to the seal to ensure there is no water leakage in the pipe connection.
STEP 6: Place caulk around the bottom edge of the bathtub. Take out the lumbar support and carefully bring the bathtub to the floor. Use a damp cloth to clean the excess caulk and debris and plumber putty to cover the tub drains and the floor.
Tips to Maintain a Freestanding Bathtub:
Always look for the clog in the drain. You can pull it out with a small stick if hair or debris is in the gutter. Use mild cleaning components, which will help you preserve the bathtub for a long time and will also help you remove surface-level scratches. Do not use strong solutions such as concentrated bleach to remove stains. Instead, mix water and diluted bleach with a ratio of 10:2, respectively. Apply it to the tub's surface and leave it for 15-20 minutes to remove any surface-level stains. Always check the floor drain. You may unclog it using any small sticks or a small vacuum to suck out all the debris. Check the heater or faucet immediately if you smell rust or grease in the water. Rust in the water may stain or damage the bathtub in the long run. If you want to sand the bathtub, try using 400 grit sandpaper or 600 grit sandpaper for a more refined finish.

I'm certainly very excited about How to Install a Bathtub Yourself and I really hope you liked my blog posting. So long as you liked our blog post please do not forget to share it. We take joy in reading our article about A Step-by-Step Guide to Installing a Bathtub.
Efficient help? Call!